 Jay
Jay
 Niki
Niki
 Selena
How to Set up an LED Wall? – Ultimate Guide
Welcome to the fascinating world of LED walls, where a blank canvas transforms into an immersive visual experience filled with vivid colors and eye-catching graphics. Whether you’re a beginner venturing into the realm of LED displays or an experienced user seeking to optimize your setup, this comprehensive guide will equip you with everything you need to create a stunning video wall that captivates your audience.
1. Selecting the Optimal LED Wall
When it comes to enhancing your space with dynamic and engaging visuals, selecting the appropriate LED video wall setup is crucial. Whether for home entertainment, commercial advertising, or outdoor events, the right setup can dramatically impact the effectiveness and appeal of your display. Let’s delve into the essential factors to consider when choosing an LED video wall that suits your specific needs, alongside recommendations for various environments.
Factors to Consider for Your LED Video Wall Setup
Before diving into the specifics of each environment, it’s important to understand the key factors that influence the choice of an LED video wall setup. These factors include usage, environment (indoor vs. outdoor), pixel pitch, size, and budget. Let’s take a detailed look at each factor:
- Usage:
- Determines the content type and viewing distance.
- For instance, video walls for advertising may prioritize size and brightness over ultra-high resolution.
- Consider whether the LED wall will display static images, videos, or interactive content.
- Environment:
- Indoor environments may require different brightness levels and pixel pitches compared to outdoor settings.
- Outdoor video walls need to be more robust and weather-resistant.
- Consider ambient lighting conditions and potential exposure to elements.
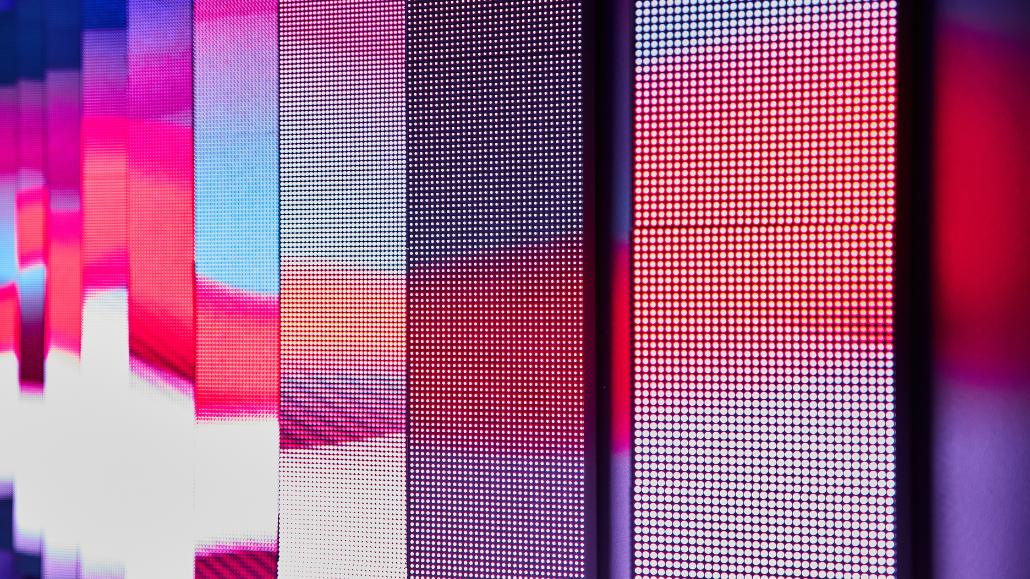
- Pixel Pitch:
- Refers to the distance in millimeters between the centers of two adjacent pixels.
- Lower pixel pitch results in higher resolution and is ideal for close-up viewing.
- Higher pixel pitch is suitable for larger spaces where viewers will be further away.
- Size:
- The physical dimensions of the LED video wall matter.
- Consider the available wall space and how the video wall will fit within it.
- Balance size with resolution to ensure optimal visual impact.
- Budget:
- LED video walls come in various price ranges.
- Consider both the initial investment and long-term maintenance costs.
- Evaluate the cost-effectiveness based on your specific requirements.
Best LED Video Wall Setups for Various Environments
Now, let’s explore some recommended LED video wall setups based on different environments:
- Home Environment:
- For home theaters or entertainment spaces, prioritize image quality and viewer comfort.
- Opt for a moderate-sized LED video wall with a pixel pitch that balances resolution and viewing distance.
- Consider seamless integration with existing home decor.
- Commercial Environment:
- In retail stores, corporate lobbies, or conference rooms, choose an LED video wall that grabs attention.
- Brightness, color accuracy, and dynamic content are essential.
- Consider interactive features for engaging presentations.
- Outdoor Environment:
- Outdoor LED video walls require high brightness and weatherproofing.
- Opt for a robust design that can withstand varying temperatures, rain, and sunlight.
- Consider large-format displays for outdoor events, concerts, or sports venues.
2. Preparing the Installation Site
Ensuring Structural Integrity and Surface Readiness
The foundation of a successful LED video wall installation lies in the meticulous preparation of the site. This begins with a comprehensive inspection of the wall surface, which must be flat and devoid of any imperfections that could compromise the uniformity of the LED panels. The surface must be free from protruding elements and thoroughly cleansed to establish a pristine canvas for mounting. The use of specialized cleaning agents may be warranted to eradicate any residues that could hinder adhesion. Additionally, the wall’s structural integrity must be verified to support the weight and operational demands of the video wall.
Optimizing the Mounting Framework
The choice of mounting structure is a critical decision that influences the overall aesthetics and flexibility of the LED video wall. A unified frame offers a streamlined appearance, while individual brackets provide adaptability in the configuration. Precision in alignment is paramount, employing levels and laser-guided tools to ensure an exact installation. The selection of anchors and fasteners is equally crucial, with considerations for the wall’s material composition dictating the appropriate hardware to secure the structure steadfastly.
Establishing Robust Power and Data Links
A reliable power source is the lifeblood of an LED video wall, necessitating strategic planning for cable management and electrical connectivity. The proximity of power outlets and the orderly routing of cables are essential to maintain a clean and safe installation. The data infrastructure is the nervous system of the video wall, requiring meticulous attention to the arrangement of HDMI, DisplayPort, and other interface connections. This ensures seamless communication between the video wall controller and the panels, facilitating a flawless visual display.
Adapting to Environmental Dynamics
The environmental context of the installation site plays a significant role in the longevity and performance of the LED video wall. Proper ventilation is a safeguard against the detrimental effects of heat accumulation, with strategic placement of exhaust systems enhancing the thermal regulation. The ambient temperature and humidity levels are also pivotal factors, with the operational parameters of the LED panels dictating the acceptable ranges for these environmental variables.
Comprehensive Documentation for Future Reference
Documenting the installation site is an often overlooked yet vital aspect of the setup process. Detailed records of the wall dimensions, mounting specifications, and cable pathways serve as an invaluable reference for maintenance and troubleshooting. The creation of a site diagram encapsulates the entirety of the installation blueprint, providing a visual guide that is instrumental for the installation team and future servicing endeavors.
This step ensures a professional and long-lasting installation when creating a solid foundation for your LED video wall.
3. Precision Installation of the Video Wall Frame
Installing a video wall frame is a task that requires meticulous attention. The frame serves as the backbone of the LED wall and must be perfectly level and aligned. This ensures that the LED panels fit together seamlessly, creating a unified and visually appealing display. The precision of this step cannot be overstated, as even small misalignments can cause noticeable gaps or unevenness in the LED wall. Here is a comprehensive guide to the precision installation of LED wall frames, designed to ensure every step is precise for optimal visual results:
1. Wall preparation and marking
During the installation process of the LED wall, the installation location must first be determined. This step is the basis of the entire project. Use a level and tape measure to accurately measure and mark the wall to ensure the boundaries of the LED wall are clearly visible. This process cannot be ignored as any slight error may lead to unevenness or gaps in the LED screen.
2. Assembly and installation of the frame
The frame is the support structure for the LED wall and may be pre-assembled or may need to be assembled on site. In either case, make sure all parts are aligned and screws and bolts are tight. Then, install the frame smoothly on the wall, using anchors and screws to ensure a tight fit between the frame and the wall.
3. Reinforcement and testing
Depending on the size and weight of the LED tiles, it may be necessary to install reinforcing bars and brackets on the frame. Manufacturers recommend installing them at specified intervals to enhance the stability of the structure. After installation is complete, load test the frame to ensure its stability and load-bearing capacity to withstand the weight of the LED tiles.
4. Perfection of details
During the installation process, details determine success or failure. Check each connection point to make sure nothing is loose or misaligned. Each tile of the LED wall should be perfectly aligned for a seamless visual experience. In the end, a precisely installed LED wall will be displayed in front of the audience like a work of art. Each LED tile is a stroke on the canvas, forming a moving visual feast.
4. Secure and Aligned LED Tile Installation
Once the frame is accurately positioned, the installation of the LED panels begins. Each tile must be carefully connected to its adjacent tiles to ensure consistent alignment across the entire wall. This step is crucial for achieving a uniform display without image distortion. Instantaneous connections of the tiles can also lead to loose connections and potential damage or malfunctions.
Workspace Preparation
Before starting the installation of the LED display, the area must be tidy. Adequate lighting within the workspace is also essential. Before commencing the installation process, carefully check that you have all the necessary tools and equipment at hand. In the risk-laden craft of LED wall installation, preparing the workspace lays the foundation for a seamless process. A well-organized area not only enhances efficiency but also minimizes the likelihood of errors or accidents. Good lighting conditions are crucial as they enable precise aiming and handling of the LED tiles, which is vital for a flawless visual display. A thorough inventory check before starting the task ensures that every required tool and piece of equipment is readily available, thus avoiding any potential issues. This preparatory step, though seemingly mundane, is a critical component that significantly influences the quality and success of the installation.
Precision Positioning and Frame Installation
The installation of an LED display begins with precise positioning. First, the required wall space must be measured and marked with a level and tape measure to ensure the boundaries of the LED wall are clearly visible. Next, the construction and installation of the frame are key. Whether the frame is pre-assembled or assembled on-site, it is essential to ensure that all posts and supports are aligned and that screws and bolts are secured. Then, the frame is stably mounted on the wall using bolts and screws to ensure a tight fit with the wall.
Precision Structure of the LED Display
The installation of LED tiles is a delicate process; they typically come in a modular form and need to be assembled on-site into a complete display. During assembly, each module must be carefully inspected to ensure there are no loose or misaligned parts. Each tile should be carefully connected along the tiles to ensure consistent alignment across the entire wall, resulting in a seamless display.
Connection and Testing
After installing the LED blocks, the next step is to connect the power and signal cables. This step requires special attention to avoid any accidents. Connect the power cables to a reliable power source and the signal cables to the controller. Once the connections are made, test the display patterns through the controller to check for dead pixels, color inaccuracies, and other issues, ensuring that each LED display works properly.
Detail Improvement and Debugging
Finally, refining details and debugging are key to ensuring the accurate installation of the LED wall. Check each connection point to ensure there are no loose or misaligned parts. If any issues are discovered during testing, consult the manufacturer’s manual immediately for guidance. By following these steps, you can ensure that each tile of the LED display forms a perfect color, creating a collectively moving visual feast.
5. Meticulous Controller Connection and Configuration
Connecting the LED blocks to the controller is a delicate process that requires keen attention to detail. Following the manufacturer’s guidelines, installers must carefully wire each tile to the controller. This step is crucial for the synchronized operation of the LED wall.
Refined Controller Connection
Firstly, determining the optimal location for the controller is essential; it needs to be placed where it is easily accessible for maintenance and repairs, preferably near the display screen to minimize cable length. Before connecting the LED tiles, each tile must be individually tested to ensure there are no damages or malfunctions. Once all tiles are confirmed to be operational, the process of connecting them to the controller begins. This usually involves a network of cables, typically routed from the back of each block to the controller.
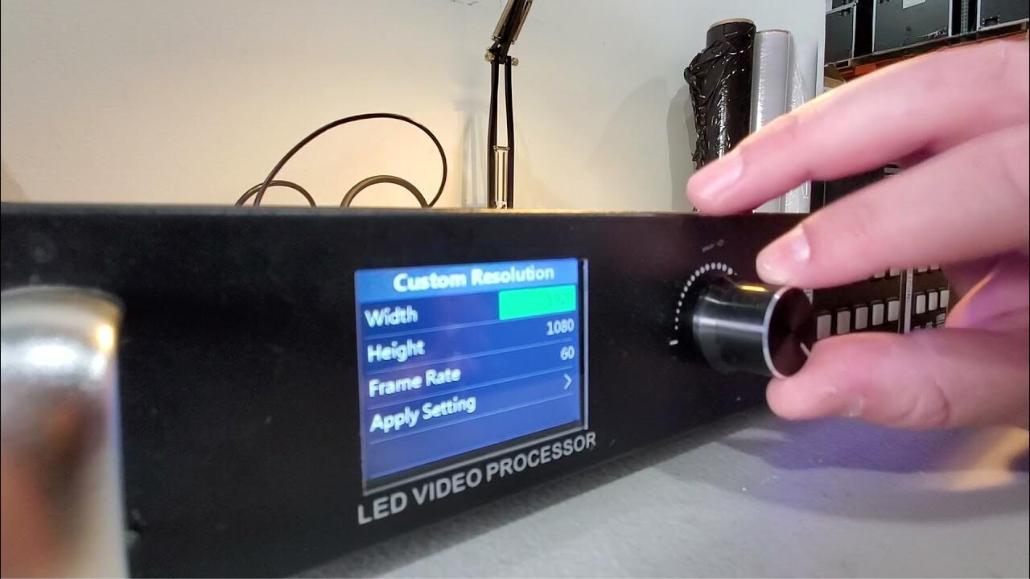
Controller Configuration
The configuration of the controller is equally important, as it dictates the performance and output of the LED wall. The configuration process often involves advanced settings, accessible only to users with the appropriate level of authorization. Ensuring all connections are correct and secure, without any loose or disconnected cables, is vital for preventing signal issues or display malfunctions.
Testing and Troubleshooting
After the connections are made, the video wall should be tested to confirm its proper operation. This can be done by sending a test signal to the controller and ensuring the correct image is displayed on the video wall. Any defects or issues should be identified and resolved before the video wall is put into use.
6. Launching and Configuring the Software
Content Management System
The heart of the LED video wall system is the content management, responsible for creating the layout, playlists, and schedules of content. This includes:
- Software Installation: Select and install the appropriate video wall management software, such as NovaLCT or similar products.
- Layout Design: Create the layout of content within the software to ensure that the display of content matches the actual layout of the LED wall.
- Playlist Arrangement: Develop playlists to schedule the order and timing of content playback to meet the needs of different occasions.
- Scheduling: Set up schedules to automatically switch between different content and layouts to cater to audiences at different times.
Exploring Dynamic Content
A significant feature of the LED video wall is its ability to display dynamic content, which makes it captivating in various settings. To fully utilize this feature, you can:
- Integrate Live Sources: Incorporate live video feeds into the video wall, such as live events or social media updates.
- Incorporate Interactive Elements: Add interactive elements like touch screen functionality or audience response systems to increase engagement.
- Apply Transition Effects: Use transition effects available in the software to provide smooth and engaging visual transitions for content switching.
System Maintenance and Upgrades
Regular system maintenance and software upgrades are essential to ensure the long-term stable operation of the LED video wall. This includes:
- System Checks: Regularly inspect the system’s hardware and software to ensure all components are operating optimally.
- Software Updates: Keep the management software up-to-date to access the latest features and security fixes.
- Backup and Recovery: Establish a system backup and recovery plan to quickly restore operations in case of a failure.
7. Comprehensive Testing and Calibration
The installation of an LED video wall is a complex process that culminates in a critical phase: comprehensive testing and calibration. This meticulous procedure ensures that the visual display operates flawlessly, delivering high-quality imagery that meets professional standards and client expectations.Before unveiling your LED video wall to the world, perform thorough testing:
Initial Verification
The first step in the testing process involves a thorough inspection of the LED tiles’ installation. It’s crucial to confirm that each panel is securely mounted and correctly wired to the control system. Powering on the video wall allows for an initial assessment, where one must look for any immediate signs of malfunction such as dead pixels, color distortion, or flickering. These issues can significantly detract from the viewer’s experience and indicate underlying problems that require attention.
Functional Testing
Functional testing encompasses a series of checks designed to validate the performance of the LED wall. Displaying test patterns across the wall helps identify any dead pixels—non-functioning pixels that remain black or stuck on a single color. Additionally, this stage assesses color consistency and uniformity to ensure that the entire display presents a cohesive image without noticeable variations. It’s also essential to verify that all panels respond accurately to controller commands, confirming the reliability of the communication between hardware and software components.
Routine Maintenance
To maintain the LED wall’s optimal performance, routine maintenance is indispensable. Regular inspections should be conducted to clean the panels, cables, and ventilation systems, preventing dust accumulation and overheating. Software updates are equally important, as they often contain bug fixes and enhancements that improve functionality. Monitoring performance metrics allows for the early detection of potential issues, facilitating proactive maintenance and reducing the likelihood of unexpected failures.
Quality Assurance Checks
Quality assurance checks are the final safeguard before the LED wall is ready for public viewing. After the frame installation, it’s imperative to conduct detailed examinations to confirm that the structure is robust and the display aligns with the design specifications. This phase ensures that the LED wall not only meets but exceeds the client’s requirements, solidifying confidence in the installation’s success.
8. Conclusion
All in all, LED wall installation is a complex undertaking that involves a series of critical steps. From selecting the right hardware to final calibration, all elements of the video system must be considered, including LED panels, controllers and software, requiring precision and expertise at every stage. By adhering to these guidelines and taking advantage of the abundance of available resources, you can ensure a high-quality and reliable LED wall installation. For ongoing support, the collective wisdom of the manufacturer’s customer service team and online professional community is a valuable asset for troubleshooting and advice. At the same time, suitable LED display settings can provide an excellent video display experience for indoor and outdoor environments.
For further reading and resources, we recommend exploring video wall installations, LED video wall rentals and video wall solutions. Additionally, contact us for better answers.

